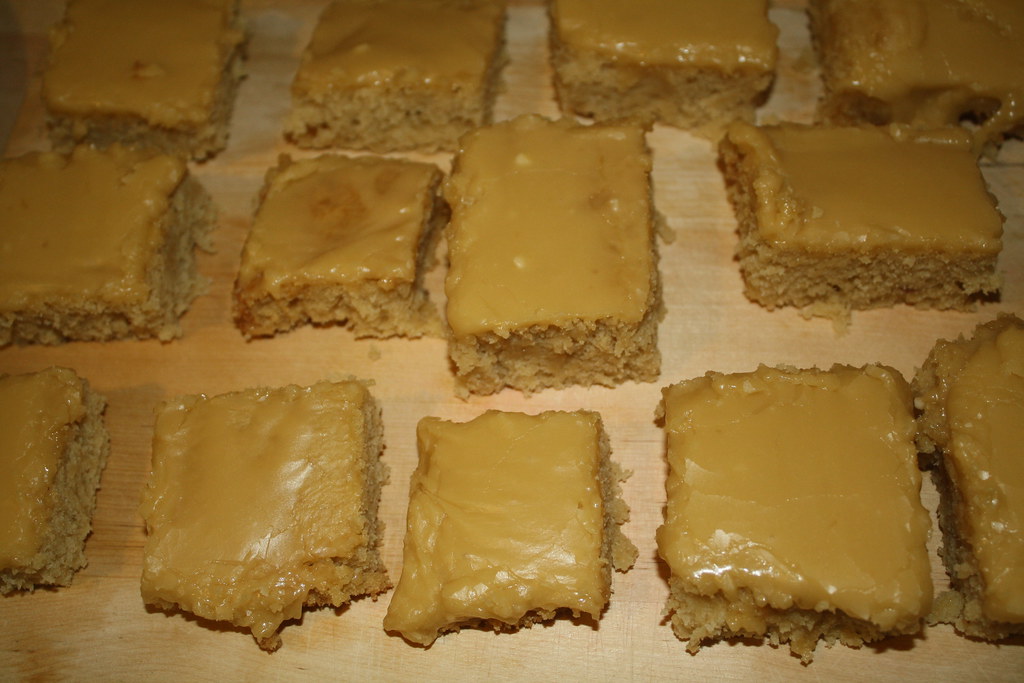
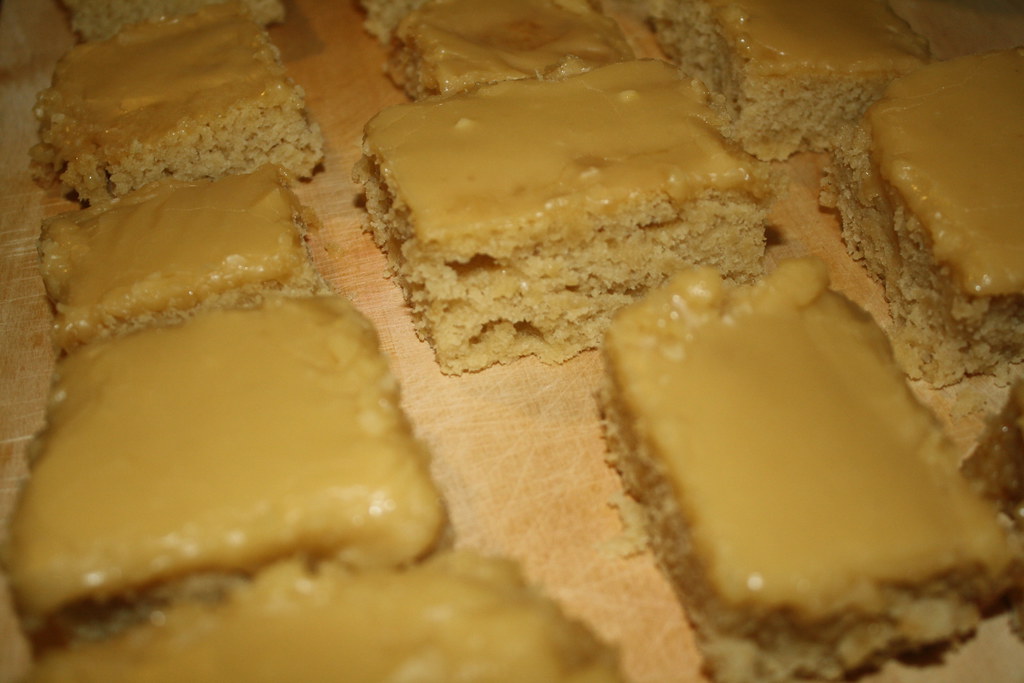
Prior to making these butterscotch finger cakes, I’d never experimented with my own homemade butterscotch sauce, but I can say afterward that this one is pretty perfect. I actually first saw this recipe on Vegansaurus, when they shared pictures of and links to the recipe on The Tolerant Vegan. I have made it twice – once vegan for myself and once non-vegan for my family. Honestly, I preferred the vegan version to its dairy-infused counterpart, largely because the consistency turned out better during baking.
Where modifications are concerned, I only made a few. The recipe calls specifically for some almond extract, but I used vanilla instead. Additionally, regular soy milk was an adequate replacement for the almond milk, but any preferred flavour or non-dairy substitute will likely do.
And while it called for cake flour, I had none. Instead, I improvised. To make your own cake flour, simply remove two tablespoons from every cup of flour and substitute with cornstarch instead.
Cake Directions:
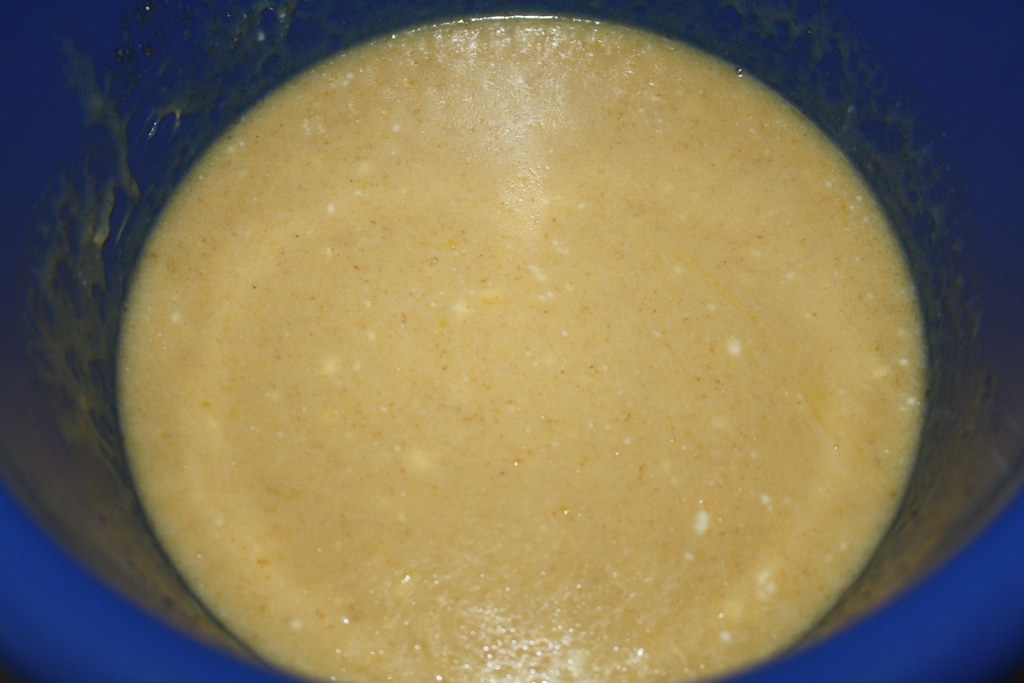
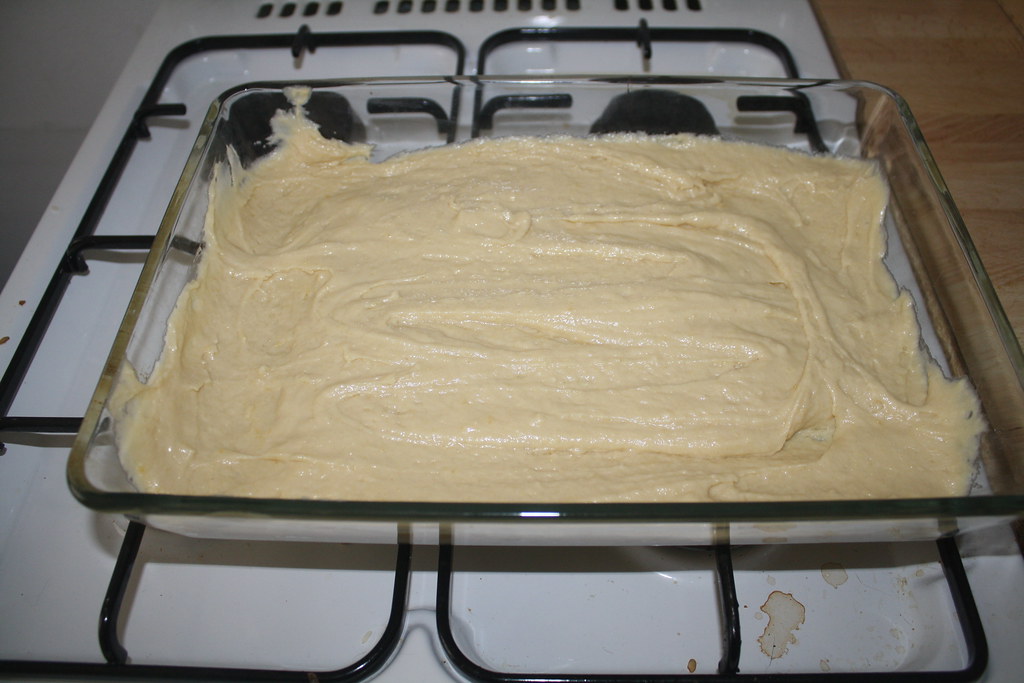
-Mix together 3/4 cup butter, 3/4 cup brown sugar and 1/2 cup white sugar.
-Add in 8 ounces dairy-free vanilla yogurt, 3/4 teaspoon vanilla extract and 1/2 cup non-dairy milk.
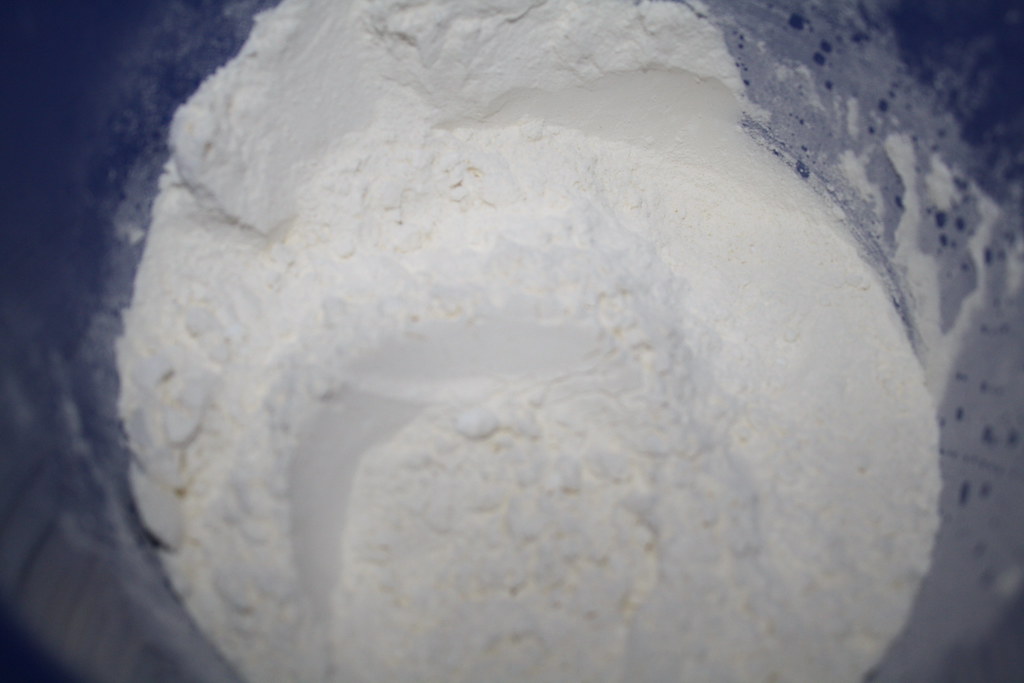
-In another bowl, combine 2 1/2 cups cake flour, 2 teaspoons baking powder, 1 teaspoon baking soda and 1/2 teaspoon sea salt.
Combine the dry ingredients into the wet ingredients and stir together. Then add 1 tablespoon fresh-squeezed lemon juice.
-Pour into a 9×13 pan and bake at 350 F (~175 C) for 25-30 minutes.
Frosting Directions:
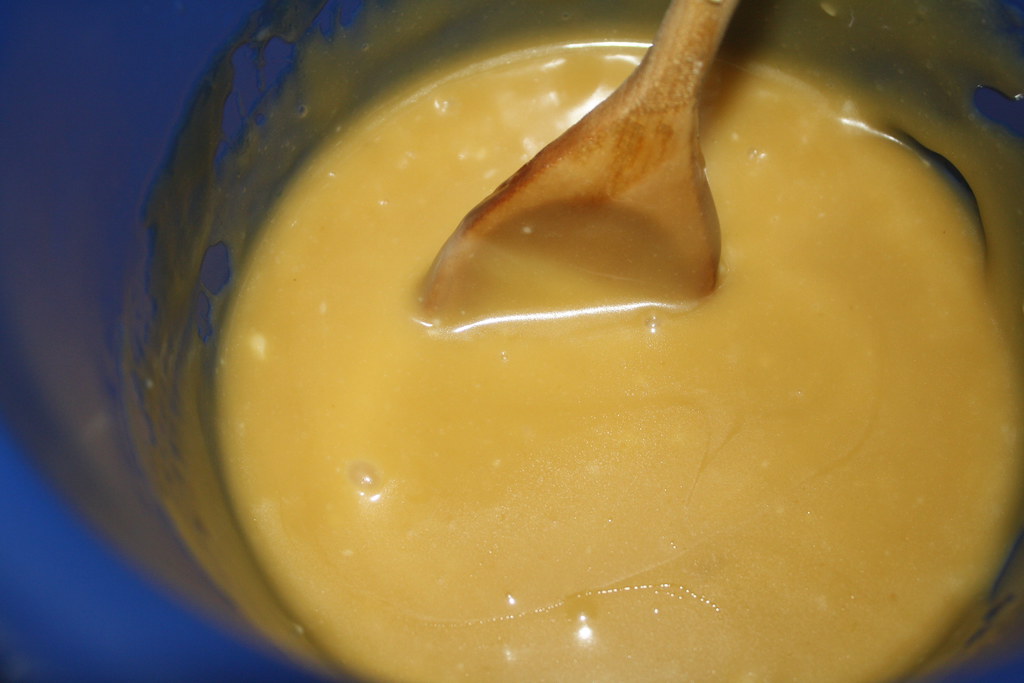
-Melt 4 tablespoons butter in a sauce pan.
-Add in 1/2 cup brown sugar, 1/2 cup soy creamer and 1/2 teaspoon sea salt.
-Stir all ingredients until blended, then cook on a low boil for five minutes, stirring often.

-Remove from heat and add 1 1/2 teaspoons vanilla extract and stir.
-Add 1/2 cup softened butter and 2 cups powdered sugar and mix all together.
-Allow the mixture to cool before spreading it on the cake.